Dear Eric: Could you please explain the difference between salted butter and unsalted butter. I have a new soup cookbook and it mainly calls for unsalted butter in most of the recipes.
Elinor
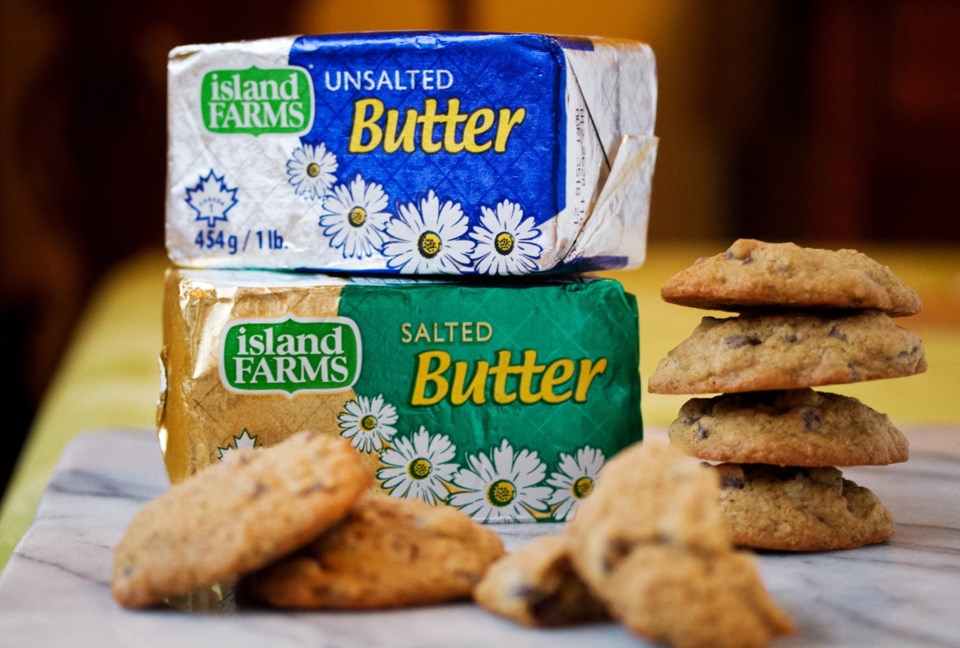
Dear Elinor: Unsalted butter does not have salt added during processing. Butter was first salted to extend its shelf life.
Most sources suggest salted butter’s salt content is up to three per cent. That means a half-pound (about one cup, or 16 tablespoons) of salted butter would contain approximately 3/4 teaspoon salt.
In a home-baking recipe, where perhaps a half cup of butter might be added, that amount of salt doesn’t seem like a lot, particularly when, for example, divided among a few dozen cookies, or a cake serving 12. Also, many home-baking recipes are designed to use salted butter and that should be reflected in any additional salt added to the mix.
When deciding what butter to use for home baking, I usually let the recipe decide. If it says unsalted butter, I’ll use that, as the recipe was obviously tested using it. If it just says butter, I’ll use salted butter, which I always have on hand.
In today’s cookie recipe, I’ve given you the option to use either salted or unsalted butter (see below for details).
In a professional kitchen where many pounds of butter will be used in a recipe yielding dozens of cakes, using unsalted butter and adding salt separately makes sense. Doing so allows the baker to exactly control how much of each is used, ensuring a consistent product for their customer each time out.
Soup recipes calling for unsalted butter are likely a result of personal preference. Unsalted butter tends to have a slightly fresher, sweeter taste — that’s why it’s often referred to as sweet butter. The recipe creator may believe it will add a more appealing flavour to the soup.
That said, if you’re only sautéing some vegetables in a few tablespoons of butter before adding a large amount of stock, when you taste the soup you would have to have a finely tuned palate to judge if salted or unsalted butter was used. And often, at the end of the soup making, you taste the soup and add salt, particularly when homemade (salt-free) stock was used. So what’s the big deal if a modest amount of salt from salted butter is already in the pot?
Unsalted butter might be used in a soup that contains other ingredients rich in sodium, such as seafood or cured meats.
For anyone on a salt-restricted diet, using unsalted butter would be the logical choice for you.
Whole-Wheat Chocolate Chip Cookies
Whole-wheat flour adds fibre to this version of the popular cookie. This recipe is slightly adapted from a recipe found in my new book, Everyone Can Cook Everything. In this version, you can use salted or unsalted butter.
Preparation time: 20 minutes
Cooking time: 15 minutes per cookie sheet
Makes: 20-24 cookies
1 1/4 cups whole wheat flour
1/2 tsp baking soda
1/4 tsp salt (if using unsalted butter)
1 1/2 cups chocolate chips
1/2 cup salted or unsalted butter, at room temperature
3/4 cup packed golden brown sugar
1 tsp pure vanilla extract
2 large eggs
Place an oven rack in the middle position. Preheat the oven to 325 F. Line 2 large baking sheets with parchment paper.
If using salted butter, place the flour and baking soda in a bowl and whisk to combine. If using unsalted butter, whisk together flour, baking soda and salt. Mix in the chocolate chips.
In another bowl, beat the butter, brown sugar and vanilla until well combined and lightened, about 3 to 4 minutes. Beat in the eggs, one at a time. Add the flour mixture and mix until just combined.
Drop 2 Tbsp blobs of the dough on the baking sheets, about 3 inches apart. Bake the cookies, 1 sheet at a time, for 15 minutes, or until golden brown. Cool on a rack, then store in an airtight container at room temperature for up to 2 weeks.
Indigenous food on museum menu
Here’s your chance to learn more about indigenous foods. On Thursday, 7-9 p.m. at the Royal B.C. Museum, three experts on the native food movement offer a taste-filled presentation called Rich in Food: Revitalizing Traditional Food on the Northwest Coast. The event is part of the museum’s B.C. Bites and Beverages series.
The three experts include Dolly McRae and her daughter Annie Watts, award-winning co-authors of Where People Feast: An Indigenous People’s Cookbook. McRae is from the Gitk’san Nation; Watts from the Nuu-chah-nulth Nation.
Joining them will be Dr. Nancy Turner, a renowned ethnobotanist and co-author of Saanich Ethnobotany: Culturally Important Plants of the WSANEC People. Turner has spent years working with botanical experts from the Saanich Nation on southern Vancouver Island and has helped pass on their knowledge of plants and their uses to future generations.
During the evening, participants will learn both the traditional and modern story of the West Coast native food movement and learn how to prepare, harvest and preserve local foods. There will also be food and drink to sample, including pine-needle tea, clam fritters, Git’ksan fruit salad and pemmican canapés made from game, fat and wild berries
Tickets for Rich in Food: Revitalizing Traditional Food on the Northwest Coast are available online, sales.royalbcmuseum.bc.ca, or in-person at the museum box office, 675 Belleville St. Tickets for museum members are $35 plus HST, non-members are $40 plus HST.
Just Like Grandma’s Bannock
This recipe is from Dolly McRae and Annie Watts’ book, Where People Feast, An Indigenous People’s Cookbook. They write that bannock is traditional pan-fried bread adopted into the native North American cuisine in the 18th century from the Scottish fur traders’ “griddle scones.”
McRae’s first business was selling bannock from a food cart outside the Museum of Anthropology at the University of British Columbia; her first-nations customers often told her, “It tastes just like Grandma’s bannock!” hence the name.
Bannock is delicious and can be served with preserves. It also makes a great sandwich bun by cutting the bannock in half.
6 cups all-purpose flour
1 1/2 cups lukewarm water (105 degrees F or 41 degrees C; see note)
1 1/2 tsp salt
2 1/4 tsp white sugar
1 Tbsp canola oil
3/4 tsp instant yeast
• Canola oil (for frying)
In a large bowl, add flour and make a hole in the centre. In a separate bowl, stir together water, salt, sugar, 1 Tbsp canola oil and yeast. Pour into the hole in the flour and mix together by hand to form dough. If the dough is sticky, add flour, a handful at a time, and mix together until you get a smooth, non-sticky consistency.
Turn dough onto a lightly floured surface and knead for 10 minutes. Place dough in a sealed container or covered bowl and let rise at room temperature for 2 hours.
On a lightly floured surface, roll out dough to a 1/2-inch thickness, and then cut into 2 1/2-inch squares (see Note). In a large frying pan on high, heat 2 inches of oil. As soon as the square of dough is dropped into the hot oil, turn it 3 times so that it puffs up evenly. Repeat with several pieces at a time and fry until golden brown for 3 minutes on each side until all the dough has been fried.
Makes 25 small bannock.
Note: Make sure to use lukewarm water; if it is too hot or too cold, the yeast won’t properly activate. For large bannock buns, cut into 4-inch squares. For medium bannock, cut into 3-inch squares.
For a coffee break or midday treat, make cinnamon-brown sugar bannock by lightly spreading softened butter over freshly made bannock and sprinkling it with a mixture of cinnamon and brown sugar.
Eric Akis is the author of the just-published, hardcover book Everyone Can Cook Everything. His columns appear in the Life section Wednesday and Sunday.


