Plaster walls are no longer common in today’s homes due to the rise in cost of building materials and labour. If you live in a home built before 1940, you will most likely have plaster walls and they have many good features. You might notice that older homes are quieter than new builds. That’s because plaster walls are thicker and help with soundproofing. If they are still in good shape, they will have good insulation properties too. There is something very special about a plastered wall. A smooth plaster wall is cool and silky to the touch, more like burnished stone.
You can reproduce the look and feel today. When I first came across Venetian plaster as a decorating tool, I imagined it would be difficult to apply. I was thinking about the talented old-world artisans. But after some experimenting, I was hooked. Not so tricky and the finish is amazing. There is much you can do with tinted plaster to combine colours and produce fabulous textures.
Venetian plaster is similar to stucco but has marble dust added so that it can be burnished to a high shine. Your paint store will tint it for you, or it may come already tinted. Unlike paint, which dries one or two shades darker, this plaster dries about 40 per cent lighter. Before starting on your wall, test your colours on a board.
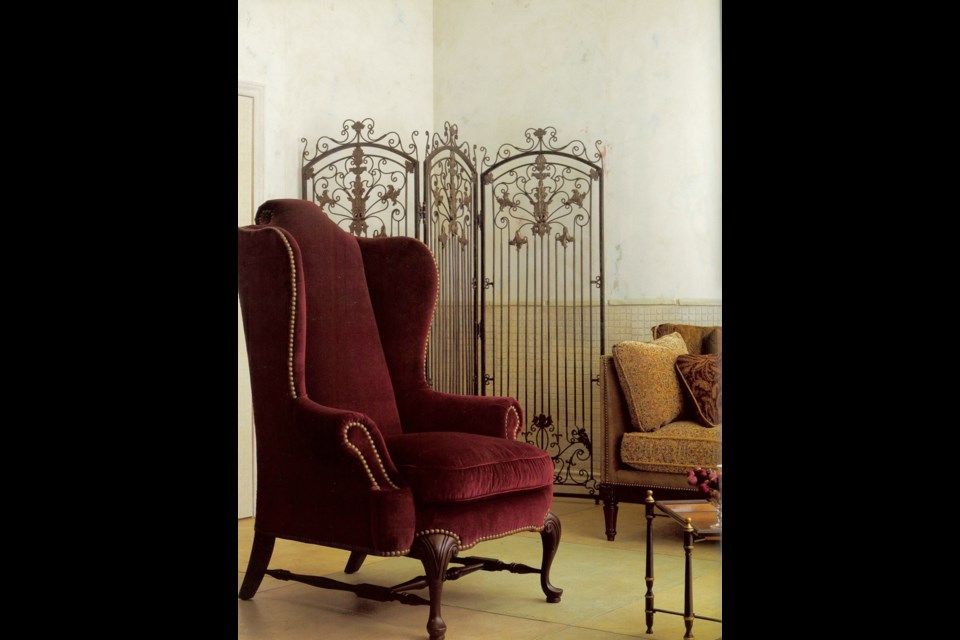
The living room vignette shown here demonstrates the classic elegance of this decorative style. The plaster walls appear to have aged over generations with hints of old coloured layers peeking through the newest topcoat. I chose four tinted plasters to develop the background: green, aqua, cream and rose. Using a small steel spatula, I spread thin streaks of the coloured plasters randomly over the wall. The topcoat of sand-coloured plaster was then applied over the entire wall, covering up most of the other tints but leaving bits showing through. You can play with this adding more colour as you like. Allow the plaster to dry. You can stop here if you prefer a matte finish. Or flatten the blade of a steel spatula against the wall and go over the surface smoothing the peaks. The friction will polish the surface to a silky finish.
The tiled lower walls were actually produced using the same Venetian plaster. three or four stencils were drawn out and cut to resemble small mosaic tiles. (It’s best to have a few stencils as they need to be washed after each use.) The lower wall is given a skim coat of plaster the same colour as the topcoat of the upper wall. This will represent the grout between the tiles. Spray the back of a stencil with stencil adhesive and position it on the wall. Using the same accent colours as for the Venetian plaster walls, apply the coloured plasters over the stencil with a spatula. Vary the colours to create a mosaic pattern. Remove the stencil carefully to reveal a raised mosaic pattern. Let dry. Give the tiles a light sanding if you want them smoother.
Written by Debbie Travis and Barbara Dingle. Email decorating questions to house2home@debbietravis.com. Follow Debbie at instagram.com/debbie_travis, facebook.com/thedebbietravis, debbietravis.com.


