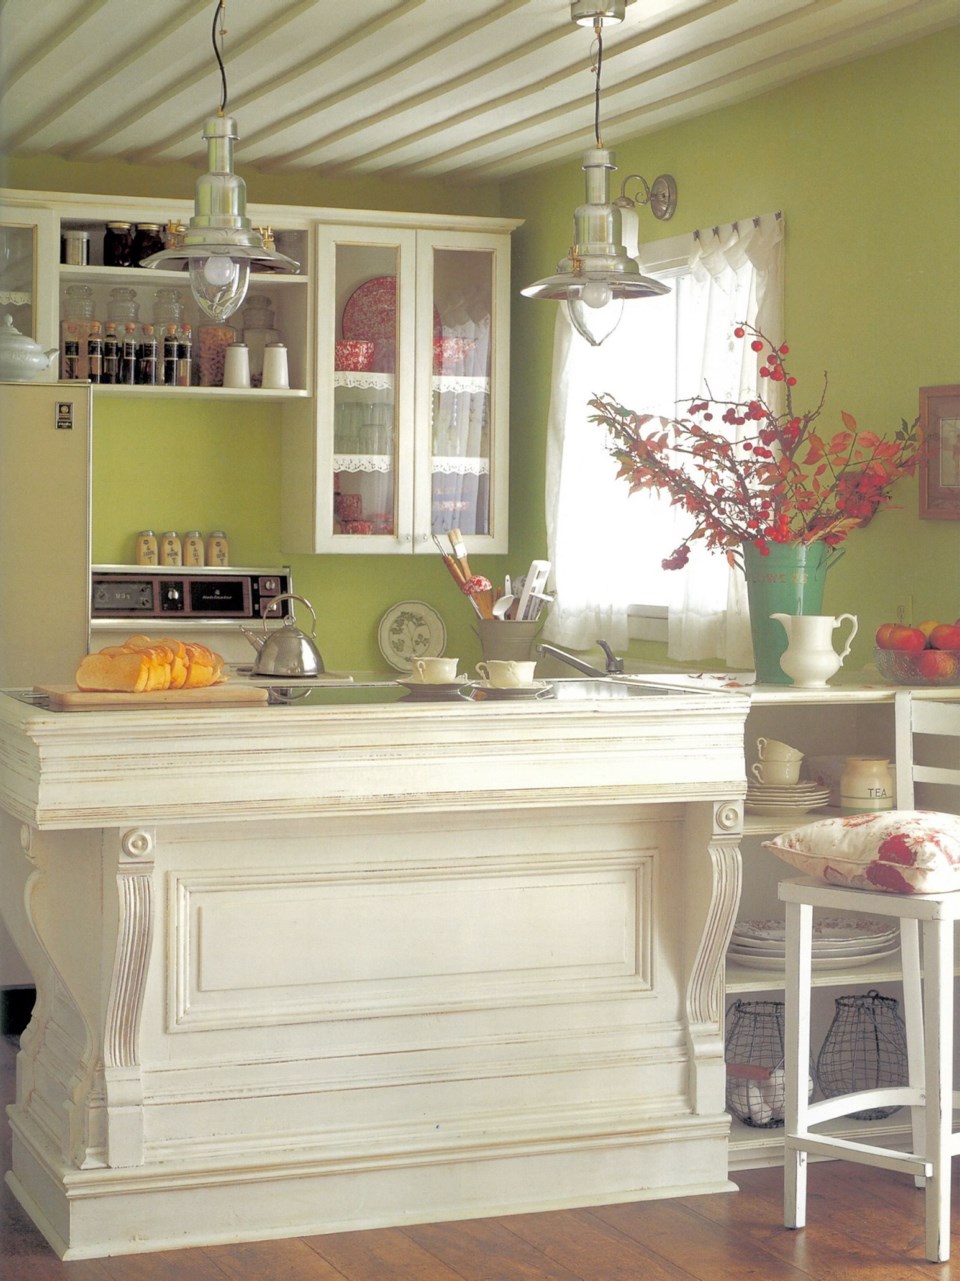
I was asked by a friend for some help fixing up her tiny country cabin. Its location was glorious, sitting by a pristine lake. However, the cabin was dreary, dark and dull. We transformed it all, including second-hand furniture from the thrift store, mostly using white paint. The kitchen wall came alive with a cheerful coat of new leaf-green paint, which connected the indoors to the natural wooded surroundings.
My friend had purchased a glass-topped oak candy counter salvaged from an old general store. I chose to paint this timeworn piece to lighten it up so that it wouldn’t feel so big or heavy in the cabin. Painted and antiqued, it is now the kitchen counter, and separates the kitchen from the open living area.
I am often asked why I would paint over good wood that shows its natural finish. I agree that wood’s markings are beautiful. But it comes down to a personal choice.
There is nothing intrinsically wrong with painting wood — we have been doing it forever, and all over the world.
Painted furniture earmarks a style. Scandinavian style is known for its bright painted finishes, with patterns and colours applied to everything from cabinets to clocks. Pioneers shaded their handmade furniture with paint colours drawn from nature.
If you live in a home that drags you down with an overabundance of dark wood, it’s possible to change the mood significantly with just a few coats of paint.
The candy counter has handsome mouldings and panels, details that are generally missing in new, sleek modern furniture. This antique finish was applied to highlight the character of the piece as well as lighten it.
There are many methods for creating an aged or antique finish. Here’s what we did for this counter.
The counter was sanded down and primed with a high-hide primer sealer to stop any bleeding from knots seeping through the old wood. Two coats of semi-gloss paint gave it a bright, glossy finish.
I mixed a coloured glaze: one cup water-based glazing liquid, two tablespoons raw sienna artist’s acrylic paint, two teaspoons burnt umber artist’s acrylic paint. This brown glaze was applied with a brush over the surface, making sure to get into all the cracks and crevices. I wiped back the glaze with a soft lint-free cloth, leaving a small amount behind in the grooves. The shadows accentuate the contours of this lovely piece.
The goal of creating an aged finish is to give the piece the same patina that you would expect to see after many years of use. For a more distinct weathered appearance, apply two or three coats of paint (that would have been applied over the years) and then rub away some of the paint with sandpaper.
Work on exposing the different colours of paint where the furniture would have been continually rubbed or banged, and in some spots sand down to the raw wood underneath.
Common wear spots show up around cabinet handles and edges, over the tops of tables, and on chair legs and seats. Take your time with the process. You can always add more paint or wipe away spots you don’t want. It’s a great way to create a one-of-a-kind antique of your own.
Debbie Travis’s House to Home column is produced by Debbie Travis and Barbara Dingle. Please email questions to house2home@debbietravis.com. You can follow Debbie on Twitter at twitter.com/debbie_travis, and visit Debbie’s website, debbietravis.com.


