 Dear Eric: I’m retired with a productive garden and I want to preserve all my produce. But I find the “rules” have changed somewhat.
Whereas I used to boil the product (berries, etc), the bottles and the snap lids and tops, as well as all the canning paraphernalia, things seem to have changed and I am confused.
I boil the berries, tomatoes or other produce well; I wash the jars. Then, following British protocol re: sterilizing jars, I place the jars in a 250 F oven for an hour. But why do recipes now state that one should not boil the snap lids and twist caps?
And if one tries to get rid of any bubbles with a plastic implement that is not sterilized, surely this will introduce unwanted contamination into the jars? Why can one not use a metal spatula that has been boiled?
I stopped using a boiling bath (heat) processing method some years ago, as it steams up my kitchen and uses lots of power, and have suffered no deleterious effects. And I have never used a pressure canner, which some manufacturers seem to suggest is mandatory.
I would like to be sure that all my efforts to preserve produce are actually safe and effective, without spending mega-bucks, energy resources or excess efforts in the process. Please advise me. I would be very grateful.
Jill
Dear Jill: Modern canning guides divided foods for canning into two classifications, high-acid and low-acid, and each classification requires a different method of heat processing to prevent the growth of harmful bacteria and other micro-organisms.
Jill, since you’ve stated that you have given up on heat-processing altogether, that is something you should take note of.
During heat processing, the filled canning jar is heated, its contents expand and internal pressure changes occur, venting gasses or air from the jar. After processing, the atmospheric pressure outside the jar is greater than inside, which causes the lid to be pulled down, creating a vacuum seal that prevents contaminates from entering.
High-acid foods have pH values of 4.6 or lower and preserves with that high acidity include jams, jellies and other fruit preparations; pickles, flavoured vinegars and tomatoes packed with an acidic ingredient; and condiments, such as relishes and chutneys.
Although packing food in a high-acid environment can inhibit the growth of bacteria and other spoilage organisms, and canning jars in some situations will seal without heat-processing, it is still safest to heat process them to 100 C (212 F) to de-activate enzymes, yeasts and other micro-organisms.
That boiling-water temperature can be achieved in a boiling-water canner, sold at most hardware stores, which is basically a large stainless-steel pot that comes with a rack to set your jars in. How long you heat-process depends on the preserve you’re making and should be specified in the recipe.
Low-acid foods have pH values higher than 4.6. These include meats, poultry, seafood, vegetables, stews, soups and tomato or vegetable sauces or mixtures without an added acidic ingredient.
To destroy harmful bacteria in this low-acid environment, canned foods must, I repeat, must, be heat-processed at temperatures of 116 C (240 F) for a specified length of time, depending on the type of food. Boiling water canners cannot reach this temperature; therefore, low-acid foods must be processed in a pressure canner. A pressure canner is a pot with a locking lid where foods are heated under pressure at a higher temperature than in a boiling-water canner.
Jill, you also said that you sterilize your canning jars in the oven, but canning-jar manufacturers, such as Bernardin, say that work should be done on the stove in simmering water (180 F/82 C).
Its website, bernardin.ca, one of the sources used for this column, says jars can break or explode in the oven due to temperature fluctuations when the oven door is opened.
With regard to the screw bands and snap-top lids for canning jars, most guides they, too, must be immersed in simmering water to sterilize them and, for the lids, to also help soften the sealing compound.
As for why a heatproof, I-can-be-sterilized plastic spatula is recommended for getting rid of air bubbles in preserves, that’s because a metal one could chip or scratch the jar.
Safely canning foods does require organization, equipment, effort, electricity or gas, depending on your stove and, yes, the process can cause a lot of steam. But it can be worth it, especially if you fill your pantry with months full of food.
Jill, if you begin to think it’s too much bother, look into other means of preserving, such as drying and freezing, or maybe use a mix of techniques until you find a happy balance.
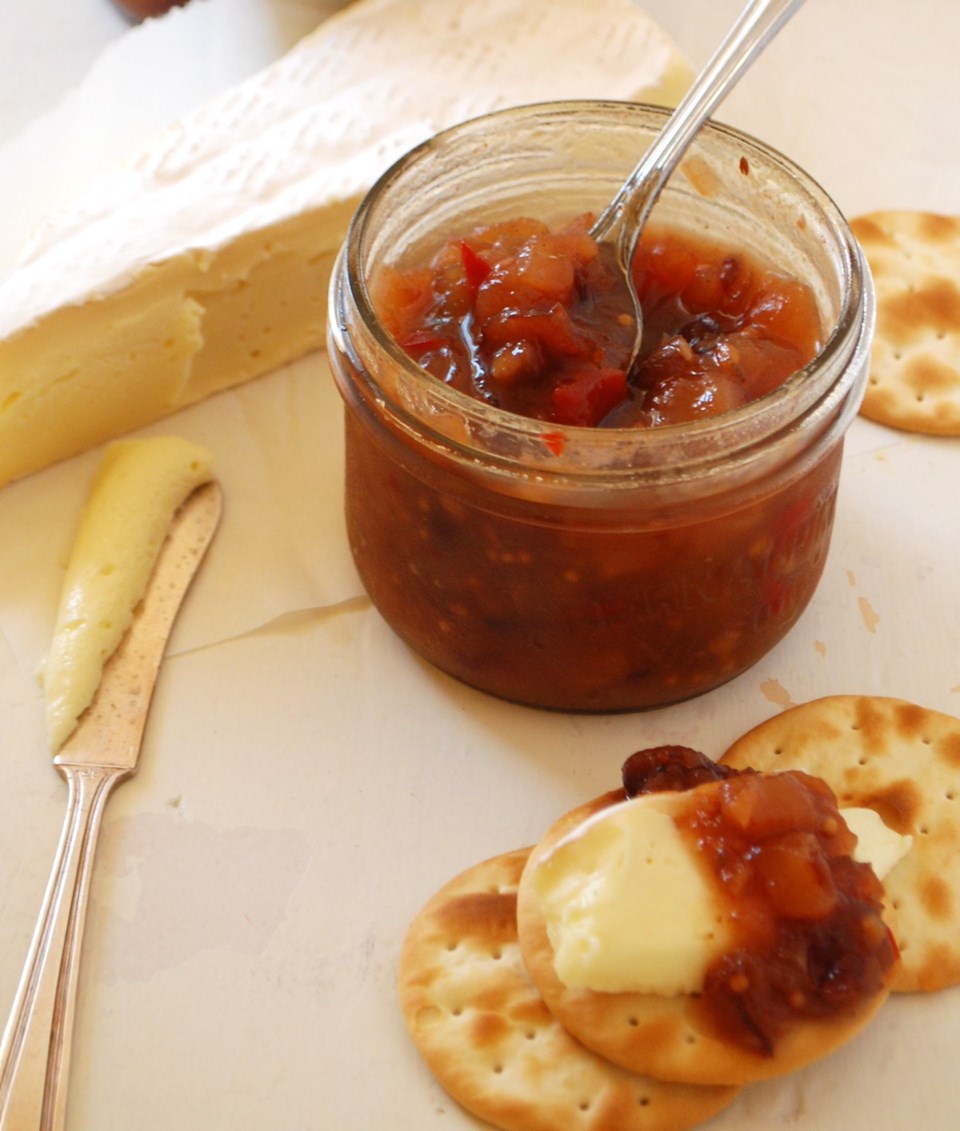
Pear Chutney with Cranberries and Spice
This fruity chutney is heavenly aromatic and rich with spice and tangy cranberries. Serve it with curries, cheese, paté, ham or roasts, such as turkey or pork.
Preparation time: 60 minutes
Cooking time: About 55 to 60 minutes
Makes: 7 (250 mL), or 14 (125 ml) jars
2 1/2 cups golden brown sugar, packed
1 cup dried cranberries (about 5 oz./140 grams)
2 tsp yellow mustard seeds
1/2 tsp crushed chili flakes
1/2 tsp cumin seeds
1/2 tsp ground coriander seed
1/2 tsp ground cinnamon
2 tsp salt
2 cups cider vinegar
2 tsp finely grated lime zest
2 Tbsp lime juice
6 cups diced (cut into 1/4- to 1/2-inch cubes), peeled, cored and slightly under-ripe pear (7 to 10, depending on size)
1 Tbsp vegetable oil
2 cups finely chopped onion (about 1 large onion)
1/4 cup chopped fresh ginger
2 large garlic cloves, minced
1 small red bell pepper, finely chopped
7 (250 mL) or 14 (125 ml) canning jars with snap-top lids and screw bands
Fill a boiling-water canner with water, set on the stove with the lid in place, but don’t turn on the heat.
Place the first eight ingredients in a bowl and set aside. Measure out the vinegar and set it aside, too.
Place the lime zest and juice in a second bowl that’s large enough to hold the pears. Add the pears and toss to coat.
Heat the oil in a wide pot set over medium to medium-high heat. Add the onion, ginger, garlic and bell pepper and cook and stir until tender, about five to seven minutes.
Add the remaining ingredients and bring to a gentle simmer (small bubbles should just break on the surface), adjusting the heat as needed to maintain that gentle simmer.
When your chutney is simmering, turn the heat to medium-high underneath your canner and bring to a simmer (180 F/82 C).
Simmer the chutney, uncovered and stirring often, until it is thick enough to mound on a spoon, about 40 to 55 minutes. (How long the chutney takes to thicken will depend on the width of your pot and rate of simmering.)
Sterilize your canning jars in simmering water for 10 minutes. Remove the jars and set their snap-top lids and screw bands in the water for five minutes.
When it’s done simmering and thickened, divide the chutney between the sterilized canning jars.
Wipe rims clean, and then top with the snap-top lids. Apply screw bands until fingertip-tight.
Bring the water in your canner to a boil. Heat-process the jars of chutney in the canner 10 minutes, then remove and set on a cooling rack. Cool jars at room temperature 24 hours. Check seal. A properly sealed lid curves downward.
Label, date and store the chutney in a cool, dark place.
Eric Akis is the author of The Great Rotisserie Chicken Cookbook (Appetite by Random House). His columns appear in the Life section Wednesday and Sunday.


